14
/ 24
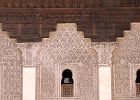
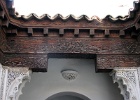
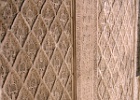
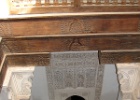
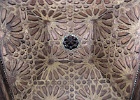
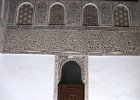
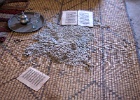
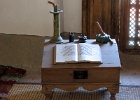
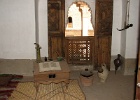
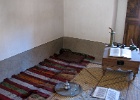
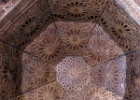
Details of walls within the Ben Youssef Medressa